Thursday, March 26, 2015

Cajun Creation

I've been meaning to cover fish for some time, and every time I cook fish I forget to whip out my camera (which at this point, almost has a permanent home within my kitchen) to document the process. No longer! As I was prepping dinner on Sunday I reminded myself to cover it with the hopes that the recipe I was concocting would not be a flop and I am proud to say it wasn't a flop in the slightest. Even the left overs were good, and left over seafood is rarely tasty.

This meal consisted of three different proteins, all of which were seafood, though I can imagine the shrimp and scallop mix would be tasty on top of steaks, chicken, rice.. pretty much anything, really, and the Tilapia certainly stands on its own, but if you mix them together it's a fantastic fish dish ready to make your taste buds happy. If you're not big on spicy, tone down the amount of seasoning, or if you're not big on Cajun seasoning, this would work well with a garlic blend, too.


Cajun Seafood in Cream Sauce

If you're working with frozen seafood, the first thing to do is thaw it. The best way to do this is overnight, in the fridge with lots of paper towels in a Tupperware container... but I slacked off and did no such thing. Instead, I last minute tossed the frozen shrimp and scallops in a strainer and placed it under running water. If you do it this way, don't forget to move the basket and contents around so that everything thaws. 


Once you get things thawed, in another strainer or in a large bowl separate your seafood onto layers of paper towels. Peel your shrimp at this point. I put in two layers of scallops and one layer of shrimp, each layer separated by more paper towels. 


Next, oil your pan and add add your butter. You can skip the butter if you really want to, but it adds a wonderful flavor to the shrimp and scallops. Put the heat on around medium. 


Add in your seasonings. I used a little bit of Old Bay, a good bit of Cajun, garlic and a dash of salt.


Add in your shrimp in a single layer, If they don't all fit without crowding do them in two or more batches. At this point go ahead and preheat your oven to 425 degrees.  


Cook on each side about a minute and a half or until they're turning a pink color and no longer translucent. You don't have to have them completely cooked, since they will be returning to the pan later. 


Once the centers no longer look translucent and, for a lack of a better word, goopy, remove them to a bowl.


If you need to, add more oil or butter.


Now layer in your scallops. You can do this the neat and organized way and put each one in individually and turn them one at a time, or you can just toss them in, spread them out and then jostle them about the pan. I did it both ways and found that I got them a little browner the meticulous way, but that they tasted all over the same either way.


Cook them until they're just browning and no longer translucent or super squishy like they were when they were raw and remove them to the bowl as well. 


Once you've repeated the steps with all the batches of shrimp and scallops, saute your garlic and shallot in the pan. (I forgot to do this and had to do it on the side.. do it in the pan, the flavors will be better). 


Once they're browned and slightly softened, add the two tablespoons of white cooking wine and deglaze the pan. 


Next, turn the heat to a medium-low and add in your heavy whipping cream. I used about two and a half cups initially. Stir this in and let it all come together. It should lightly simmer but never come to a boil. 


While the sauce is simmering, prep your fish. Lightly spray your baking dish to decrease the chances of the fish sticking and season each fillet. Here again, I used salt, pepper garlic, a dash of old bay and a generic Cajun seasoning. You can go as light or heavy as you'd like on the seasonings. Once you're seasoned up, place them into the oven for about 15 minutes. Start checking them around 12 minutes in if your oven cooks quickly. You want it to flake easily with a fork without being mushy or squishy. 


During the time it takes to cook the fish, add the shrimp and scallops to the sauce and let it come to a simmer. If you want, add in 1/4 c grated Parmesan cheese to the sauce to add a little variation to the seasonings. Stir this frequently. 


Once the fish is done, plate each fillet, then top with the seafood sauce and enjoy!


Bare Bones Version:
You will need:
1 lb fish fillets like Tilapia or Flounder
1lb shrimp uncooked
1lb scallops, preferably bay
2 1/2c heavy whipping cream
1/4 c Parmesan Cheese
2 tbsp white wine
2 garlic cloves (chopped)
1 shallot (chopped)
butter
Olive oil
Cajun seasoning
Salt
Pepper
Garlic
Old Bay seasoning


How to:

First, thaw all your seafood if you're not working with fresh. If you're working with head-on, veined shrimp, cut off their heads and devein them. Then peel your shrimp and layer the shrimp and scallops separately in a paper towel lined bowl, each layer separated by more paper towels.

Preheat oven to 425.

Next, heat your oil and butter in the pan over medium heat. Add your seasonings to your liking. Add shrimp and cook until just turning pink and the centers are just turning white. Flip and repeat until the center is opaque.

Repeat as needed for all shrimp, keeping them in a single layer in the pan. Repeat the process for the scallops.

Remove all to a bowl together to wait.

Add garlic and shallot to the pan and saute until just browned.

Add white wine and deglaze pan.

Add cream and stir, add more seasoning if needed. Bring to a light simmer, but never to a boil.

Prep fish in pan with seasonings and put into oven for anywhere between 12 and 25 minutes depending on your oven and how you like your fish. Fish is done when it flakes easily with a fork. For a more done fish, make sure none of it is squishy.

While fish is cooking, add shrimp and scallops back to the pan and finish cooking.

Add Parmesan cheese to the sauce if desired.

Once fish is done, plate each fillet and top with seafood sauce.


Happy eating!

Wednesday, March 18, 2015

Quality Quail

The tiny bird known to us as quail... I'm not sure who the first person was that decided "Let me eat one of those" but whomever it was deserves a high five and a bottle of fine bourbon. 

If you've never had quail you're in for a treat. It is a bit gamy, being a little more so than a Cornish Game Hen. If you've never had either of these, then just resolve to try one of them this year. Your taste buds will thank you. The flavor of each quail varies, and it will change greatly upon whether you have hunted your own or, sadly like myself, bought yours at the market. The farm raised ones will have a milder flavor than wild, fresh ones, but even my market bought farm raised ones were wonderful.

I decided to keep these pretty simple and let the flavor of the quail speak for itself. I picked up some beautiful shiitake and baby portobella mushrooms at the market on Saturday and made the plan to stuff them into the quail with some herbs and seasonings to let the earthy flavor meld with the gamy flavor of the quail. I seasoned the quail up with some butter, salt, pepper, thyme, sage and a little garlic and onion powder and baked them to just-doneness then crisped the skin under the broiler. While they didn't get as golden as I'd have liked, they had a wonderful flavor and I would certainly make them this way again.
 

 Mushroom Stuffed Quail


The first thing I set to doing after setting my oven to 400 degrees to preheat was to start in on the mushroom stuffing. First, if your mushrooms are dirty do not wash them, simply wipe them down gently with a damp cloth. Then cut the stems off of them. For the mix we don't want anything too tough or that will take significantly longer to cook than the top fleshy parts. Do this for all the types of mushrooms you choose to use.


Once you've got them all stemmed, cut them into pieces, for the larger ones aim for 16 pieces per mushroom and for the smaller ones aim for around 12.


Then it's time to saute and season them. Melt some butter in your pan. Don't be afraid of using too much here, somewhere around 4 tablespoons works well, since quail isn't very fatty it will help keep the bird moist once you stuff in the mix.


I know, I know.. all of you that have seen Julie and Julia are screaming at me now "Don't crowd the mushrooms!" but you know what? I like them crowded, it makes them sweat more... get it.. sweat? because they're crowded and mushrooms sweat....? Right then, moving right along now. 


Let them cook for a bit and just as they start to get tender and browned, add your seasonings. I used salt, pepper, thyme, garlic, rosemary, a dash of sage and then a drizzle of balsamic vinegar. Stir it all together and let them get just browned on all sides.


Remove them from the pan and put them in a bowl to cool.


Now rinse your quail and set them on a towel or multiple paper towels to dry. After you've rinsed them all, pat them all dry and prepare to rub them down with butter. I just used my hands and rubbed a little butter between my palms, then coated each quail one at a time.

Forgive your quail for their blatant lack of manners- they were never taught to keep their legs closed and know not what they do. 

Once all the quail are coated in butter it's time to season. I kept mine mild as quail has a lovely flavor all on its own. I sprinkled each bird with salt, pepper, a dash of garlic and onion powders, thyme and sage.


Now it's time to stuff them. You can do this with either your hands or a spoon. I found using my hands easier so after the first two spoonfuls I just grabbed the mushrooms and poked them into the body cavity of the bird.

After you've stuffed them lay them right into the roasting pan. I lined mine with aluminum foil, but straight onto a lightly sprayed pan or even onto a rack would work well, too.


Put them into the oven for about 20 minutes, or until the meat is cooked through and the skin begins to crisp. If you're fine with a light golden color you can pull them at this time. If you want them a darker golden, brush lightly with a little more butter and put them under a low broiler for a few minutes, but keep an eye on them so they don't burn.


Remove them from the oven, let them sit for 5 to 10 minutes, then dig in. Getting the mushrooms out can be a challenge, but I promise, once you try a bite you will go through the hassle of tapping and digging to get them out.


Simmered Down Version


You will need:

6 quail
2 packs of mushrooms of your choosing
Butter
Salt
Pepper
Sage
Thyme
Balsamic Vinegar 
Rosemary
Onion powder
Garlic powder


How to:


Preheat oven to 400 degrees. 


Cut the stems from the mushrooms and chop into bite-size pieces. 


Saute mushrooms in butter. Once they brown, season with salt, pepper, sage, thyme, rosemary and balsamic vinegar.


Cook until browned but still firm. Remove to bowl and allow to cool.


Rinse all quails and allow to dry on paper towels. Blot dry what doesn't air dry, then rub each quail down with butter. 


Season quails with garlic, onion, sage, thyme, salt and pepper. 


Stuff quails with seasoned mushroom blend. 


Bake in oven for 20 minutes or until done.


If desired crisp skin under broiler. 


Let cool and enjoy!


Happy Eating!!


Random notes from me, not food related.

Some time over the weekend it occurred to me that I now possibly have readers that don't know me very well, if at all. For those of you that do know me and read the blog, scroll back up and drool--but for those of you that don't, I figured it might be nice to know who I am and what qualifies me to tell you how to cook these things.. and the honest, brutal answer is... absolutely nothing. I am a 20 something that just happens to love cooking. I have no culinary training, but instead just have a moderate intuition in the kitchen and I hope to open my own bakery soon. Coming from a family with a mother who is an amazing home cook and a father who ran restaurants and clubs in the military, I suppose I come by my appetite for good food honestly, though it has been a learning experience being on my own figuring out how to cook things differently or even how to cook new things in general. Having a helpful husband willing to try nearly anything I make has certainly helped. Just like any other non-chef cooks I scour the pages of cook books and the internet for recipes and ideas on how to cook things and to what temperature and this blog is intended to make it easier for everyone to feel like they can cook different things. So thank you for reading along and keeping up with me as I learn to cook new things and try to re-imagine old recipes.


Monday, March 09, 2015

Stuffed Pork Tenderloin

The tiny bird known to us as quail... I'm not sure who the first person was that decided "Let me eat one of those" but whomever it was deserves a high five and a bottle of fine bourbon. 

If you've never had quail you're in for a treat. It is a bit gamy, being a little more so than a Cornish Game Hen. If you've never had either of these, then just resolve to try one of them this year. Your taste buds will thank you. The flavor of each quail varies, and it will change greatly upon whether you have hunted your own or, sadly like myself, bought yours at the market. The farm raised ones will have a milder flavor than wild, fresh ones, but even my market bought farm raised ones were wonderful.

I decided to keep these pretty simple and let the flavor of the quail speak for itself. I picked up some beautiful shiitake and baby portobella mushrooms at the market on Saturday and made the plan to stuff them into the quail with some herbs and seasonings to let the earthy flavor meld with the gamy flavor of the quail. I seasoned the quail up with some butter, salt, pepper, thyme, sage and a little garlic and onion powder and baked them to just-doneness then crisped the skin under the broiler. While they didn't get as golden as I'd have liked, they had a wonderful flavor and I would certainly make them this way again.
 

 Mushroom Stuffed Quail


The first thing I set to doing after setting my oven to 400 degrees to preheat was to start in on the mushroom stuffing. First, if your mushrooms are dirty do not wash them, simply wipe them down gently with a damp cloth. Then cut the stems off of them. For the mix we don't want anything too tough or that will take significantly longer to cook than the top fleshy parts. Do this for all the types of mushrooms you choose to use.


Once you've got them all stemmed, cut them into pieces, for the larger ones aim for 16 pieces per mushroom and for the smaller ones aim for around 12.


Then it's time to saute and season them. Melt some butter in your pan. Don't be afraid of using too much here, somewhere around 4 tablespoons works well, since quail isn't very fatty it will help keep the bird moist once you stuff in the mix.


I know, I know.. all of you that have seen Julie and Julia are screaming at me now "Don't crowd the mushrooms!" but you know what? I like them crowded, it makes them sweat more... get it.. sweat? because they're crowded and mushrooms sweat....? Right then, moving right along now. 


Let them cook for a bit and just as they start to get tender and browned, add your seasonings. I used salt, pepper, thyme, garlic, rosemary, a dash of sage and then a drizzle of balsamic vinegar. Stir it all together and let them get just browned on all sides.

Remove them from the pan and put them in a bowl to cool.


Now rinse your quail and set them on a towel or multiple paper towels to dry. After you've rinsed them all, pat them all dry and prepare to rub them down with butter. I just used my hands and rubbed a little butter between my palms, then coated each quail one at a time.

Forgive your quail for their blatant lack of manners- they were never taught to keep their legs closed and know not what they do. 

Once all the quail are coated in butter it's time to season. I kept mine mild as quail has a lovely flavor all on its own. I sprinkled each bird with salt, pepper, a dash of garlic and onion powders, thyme and sage.


Now it's time to stuff them. You can do this with either your hands or a spoon. I found using my hands easier so after the first two spoonfuls I just grabbed the mushrooms and poked them into the body cavity of the bird.

After you've stuffed them lay them right into the roasting pan. I lined mine with aluminum foil, but straight onto a lightly sprayed pan or even onto a rack would work well, too.


Put them into the oven for about 20 minutes, or until the meat is cooked through and the skin begins to crisp. If you're fine with a light golden color you can pull them at this time. If you want them a darker golden, brush lightly with a little more butter and put them under a low broiler for a few minutes, but keep an eye on them so they don't burn.


Remove them from the oven, let them sit for 5 to 10 minutes, then dig in. Getting the mushrooms out can be a challenge, but I promise, once you try a bite you will go through the hassle of tapping and digging to get them out.


Simmered Down Version


You will need:

6 quail
2 packs of mushrooms of your choosing
Butter
Salt
Pepper
Sage
Thyme
Balsamic Vinegar 
Rosemary
Onion powder
Garlic powder


How to:


Preheat oven to 400 degrees. 


Cut the stems from the mushrooms and chop into bite-size pieces. 


Saute mushrooms in butter. Once they brown, season with salt, pepper, sage, thyme, rosemary and balsamic vinegar.


Cook until browned but still firm. Remove to bowl and allow to cool.


Rinse all quails and allow to dry on paper towels. Blot dry what doesn't air dry, then rub each quail down with butter. 


Season quails with garlic, onion, sage, thyme, salt and pepper. 


Stuff quails with seasoned mushroom blend. 


Bake in oven for 20 minutes or until done.


If desired crisp skin under broiler. 


Let cool and enjoy!


Happy Eating!!


Random notes from me, not food related.

Some time over the weekend it occurred to me that I now possibly have readers that don't know me very well, if at all. For those of you that do know me and read the blog, scroll back up and drool--but for those of you that don't, I figured it might be nice to know who I am and what qualifies me to tell you how to cook these things.. and the honest, brutal answer is... absolutely nothing. I am a 20 something that just happens to love cooking. I have no culinary training, but instead just have a moderate intuition in the kitchen and I hope to open my own bakery soon. Coming from a family with a mother who is an amazing home cook and a father who ran restaurants and clubs in the military, I suppose I come by my appetite for good food honestly, though it has been a learning experience being on my own figuring out how to cook things differently or even how to cook new things in general. Having a helpful husband willing to try nearly anything I make has certainly helped. Just like any other non-chef cooks I scour the pages of cook books and the internet for recipes and ideas on how to cook things and to what temperature and this blog is intended to make it easier for everyone to feel like they can cook different things. So thank you for reading along and keeping up with me as I learn to cook new things and try to re-imagine old recipes.


Monday, March 02, 2015

Down the Rabbit Hole


Second on my list of new things to try my hand at cooking was rabbit. Again, I searched and searched for a good, low carb friendly recipe and came up with a few options but nothing that I felt was 100% what I wanted. Torn between slow-cooking and braising, I chose to go with a braise, since it was more hands on for my first time cooking rabbit. I wound up settling on my own rendition of a version of the French's Lapin a la Moutarde-- or rabbit braised in a mustard sauce. I was a little nervous about butchering my first rabbit, but it wasn't nearly as hard as I expected and I felt more than slightly accomplished after getting my pieces to look almost exactly like the guide I was following (which I will post). It's the little things, the small victories in life that really make up the good bits. The rabbit is delicious and tender, but the mustard sauce was my favorite part of the whole meal. It's not a set of flavors we typically use in our house and it was slightly interesting at first, but i fell in love with it and will use a variation of it for many other things.
 Anyway, if you're yearning to venture down the rabbit hole, the recipe I used with the how to are below!


Lapin a la Moutarde 

First thing is to make sure your rabbit is completely thawed. I bought mine from a local market that had already removed the feet, head and all the innards, though it's not uncommon for them to come with their kidneys still intact. It's your choice whether you keep them or discard them. I rinsed mine since it was pretty bloody by the time it had thawed.

 From there it was time to butcher it up. If you're not comfortable taking this on yourself and you get your rabbit from a butcher you can ask them to do it, but it's not nearly as daunting as it may seem. 

I followed this tutorial to learn how to cut mine, and once you figure out exactly where to cut it really is incredibly simple,


As it suggests I cut the rear leg off one side, then the front leg from the same side. 


Then I repeated on the other side. 


Once you have the legs off it gets a little harder. You'll need a cleaver to cut through the back bone and to cut off where the tailbone meets the body. Follow the posted guide for this, since I forgot to take pictures of everything I did until I had already cut the saddle into even pieces. I missed cutting the backbone directly in half, but it still came out just fine. Don't stress it too much if you're not dead even on it.


After you're done cutting the rabbit into pieces go ahead and season your cuts. I seasoned mine up generously with salt, a sprinkling of pepper and just a light coating of garlic powder. Let them set at room temp for about thirty minutes, then it's time to brown it. Do this in batches if you don't have a pan with a lid large enough to do it all at once without crowding it. 
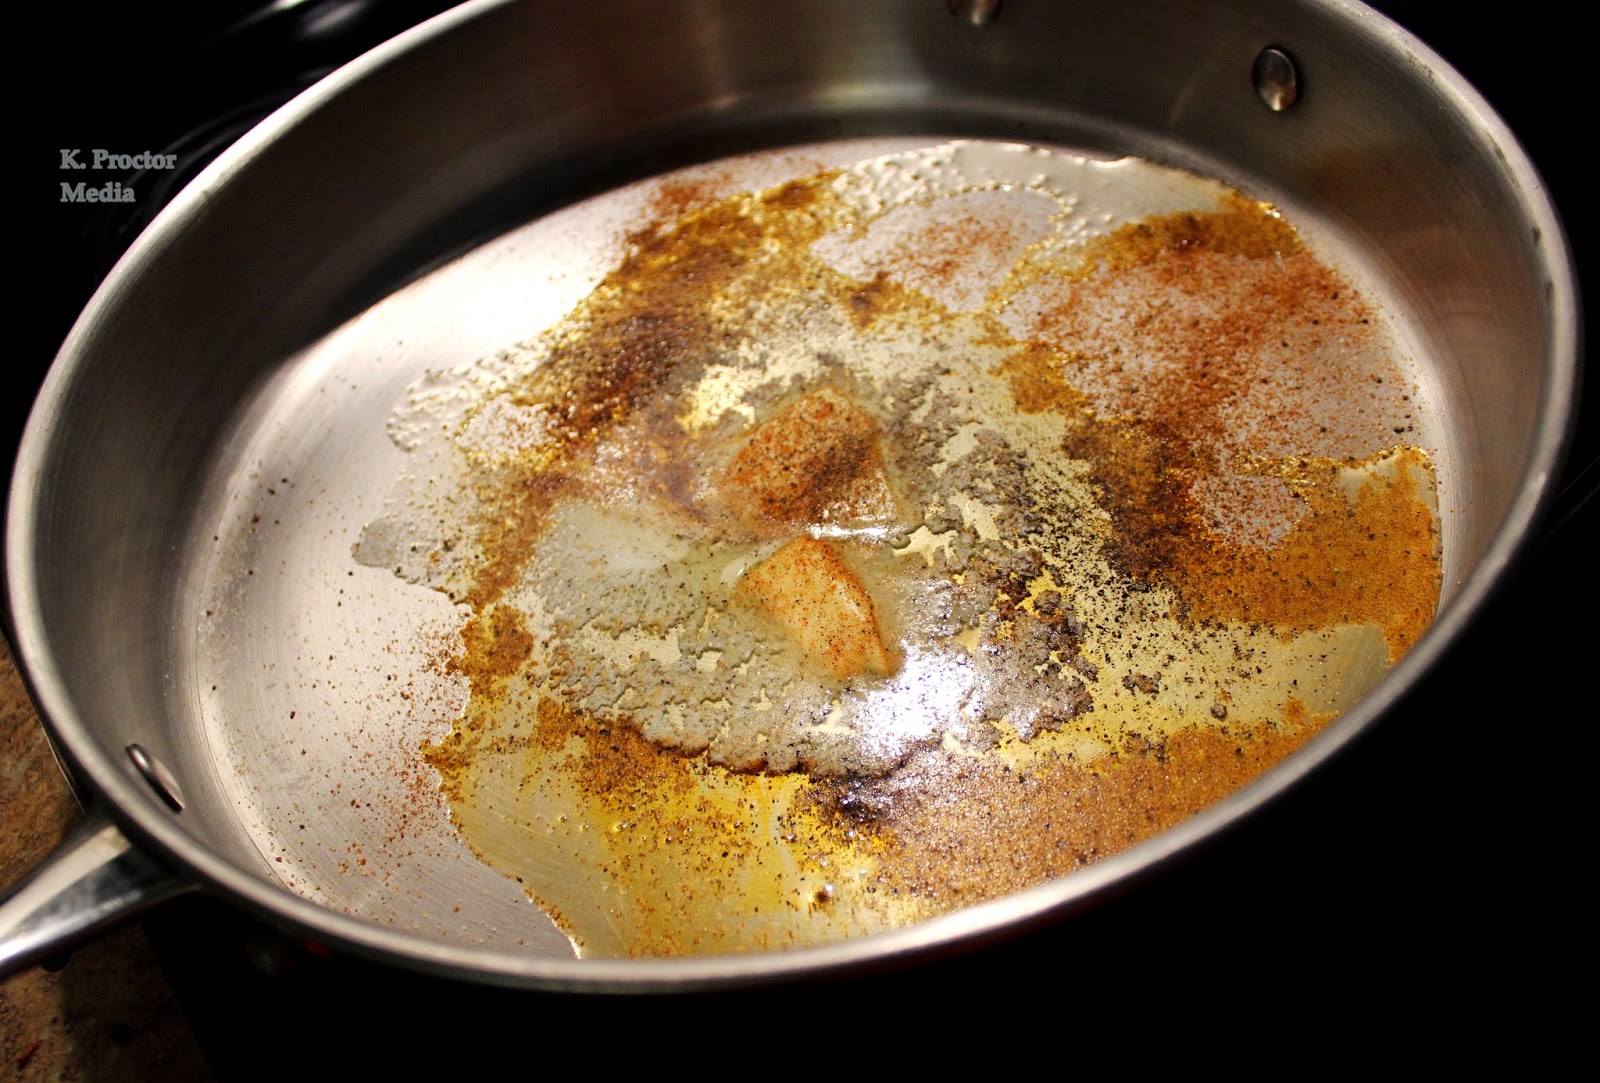
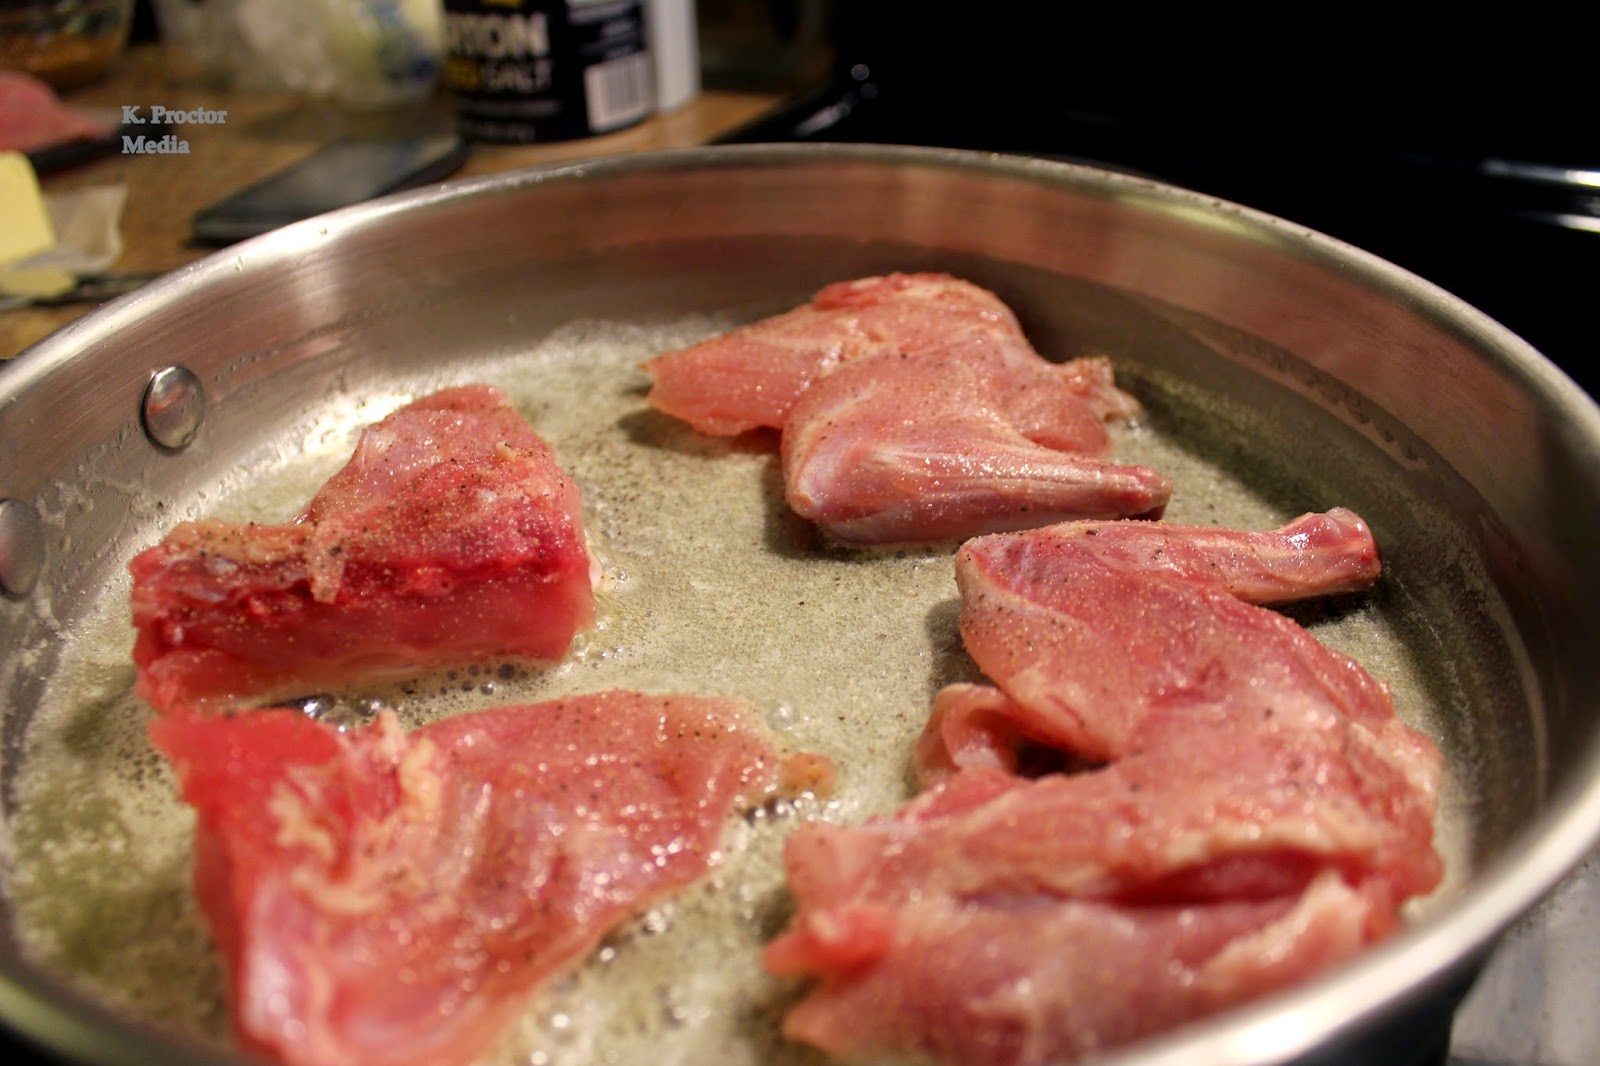
Pat the rabbit dry and add butter to your pan--chances are you know your pan better than anyone else; if things don't stick or they generally brown easily, use just a little butter; if things stick easily or it is harder to get things to brown, use a little more. If, in the process of drying, you feel like you've patted off all or most of your seasoning, go ahead and add more. Turn the pan to a medium low or medium heat--again, this depends on your pan. You don't want the butter to brown, but you want it hot enough to brown the rabbit without leaving it in the pan forever. 


Once it's hot, arrange the rabbit with a decent amount of space between the pieces and let it brown. I put mine seasoned-side-down, then seasoned the other side while the initial side was browning. 


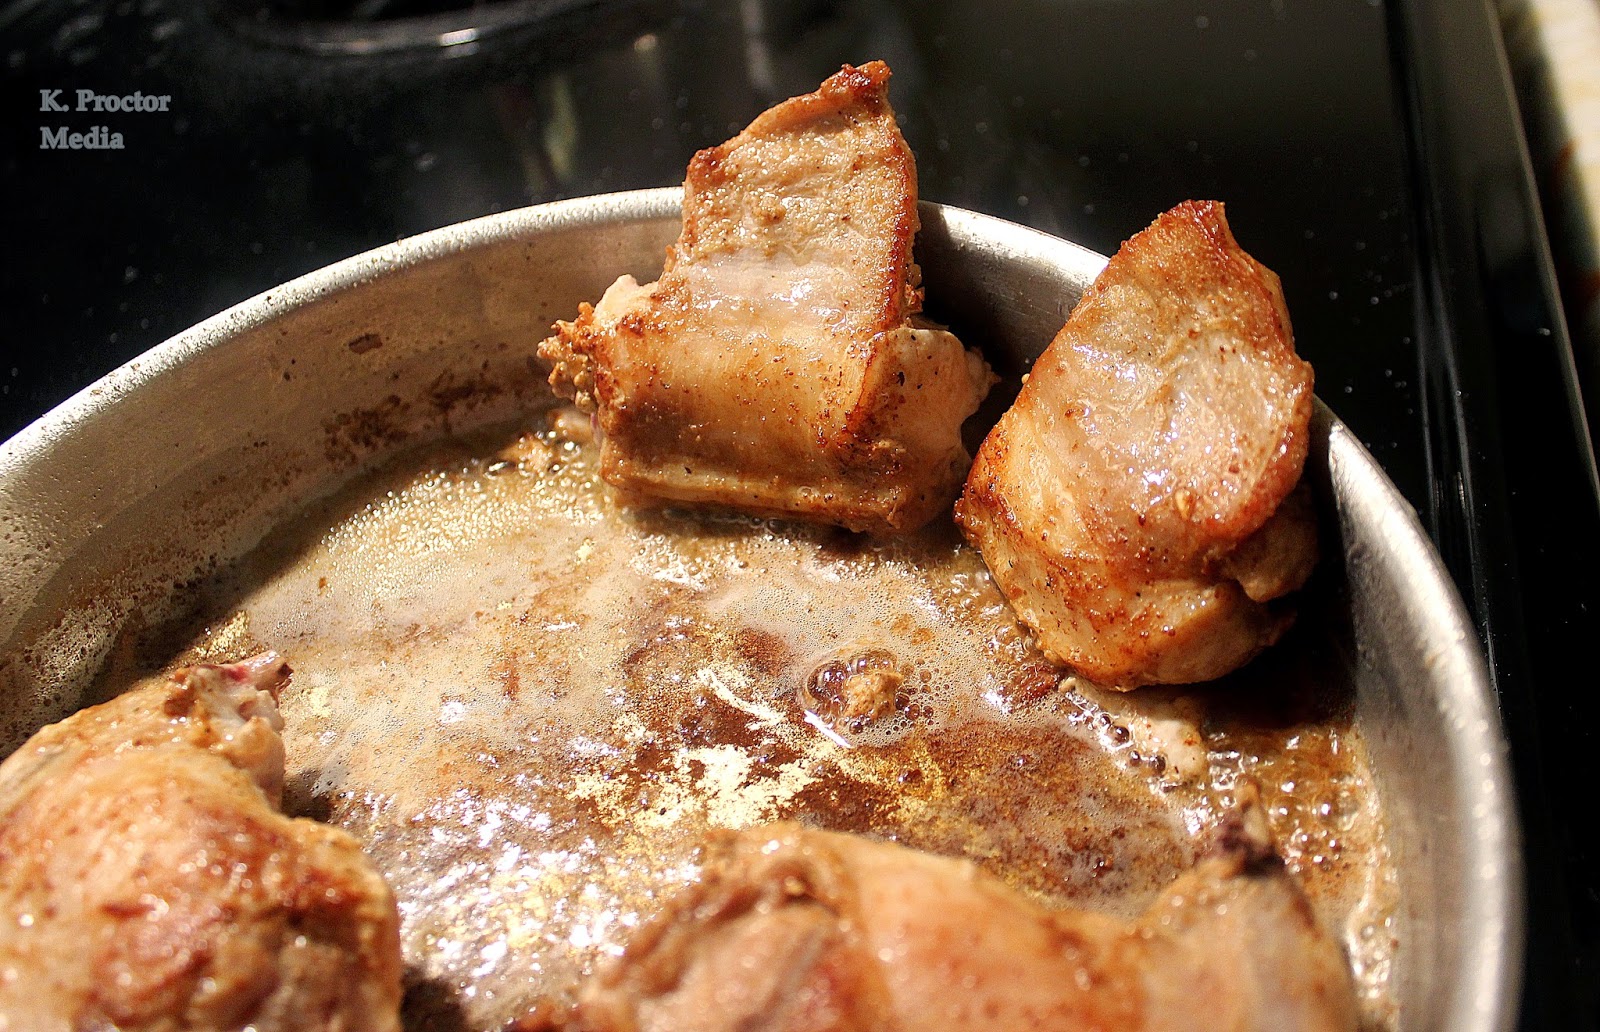
Flip it over with tongs once it's browned and brown the other side.


Make sure to brown all the sides if you can.


While it's browning, get the prep work done for the rest of the sauce. Chop up two shallots, measure out your chicken stock and top off with your sherry, measure out your mustard and your heavy whipping cream and get your thyme handy.


Once that batch of rabbit is browned remove it to a bowl and add a little more butter to the pan if needed for the next batch. Repeat the same process for this batch. I managed to get mine done in two batches, but if you should need three, just repeat the steps. 


After the rabbit has been browned and removed to a bowl add the shallots to the pan and brown them just until they're slightly darker than translucent and have a golden color. While you're moving the shallots about the pan, scrape some of the browned bits off the bottom if you can. 


From there, turn the heat up to high and add half of the chicken stock/sherry mix and use it to deglaze the pan, getting as much of the browned and stuck bits off as you can. After you've gotten as much off as you can, add the rest of the stock mix, the thyme and the mustard and return the heat to medium as you stir it all together. 


Add the rabbit back it and rotate it to cover the pieces in the sauce and cover. Turn the heat to low and let it simmer anywhere between 45 minutes to an hour.


While this is happening, get your sides prepped. This would go fantastically with a crusty bread, mashed or roasted potatoes. Since we're doing the low carb living we had mushrooms, oven roasted asparagus for J and pureed sweet potato (left over from some cupcakes I made for my coworkers) for me. 


 You'll know it's done when the meat is close to falling off or pulling away from the bone. Remove the rabbit to a serving tray or a baking sheet, like I did. 


Return the sauce to a boil and let the liquid reduce by about half. If you make an empty space in the center of the pan about the size of a plum and it takes about a minute for the liquid to completely overtake the open space, it has reduced enough.


Remove the pan from the heat and stir in the heavy whipping cream and the parsley. Add the rabbit, turn to coat and serve immediately.


 I served mine right out of the pan, but you could make a prettier dish of it all if you're entertaining. Since it was just J and I, I wasn't horribly worried about it.  

  
TA-DA Rabbit in Mustard Sauce. 

Or if you want to feel fancy, Lapin a la Moutarde, just remember to hold your pinky out and use a horrible fake French accent. :)


CONDENSED VERSION 


You will need:
1 Rabbit- about 3 pounds
2 shallots, peeled and chopped
Scant 1 c chicken stock, topped to 1c with dry sherry
Garlic powder
Salt
Pepper
1/2c Stone ground or Dijon mustard
Butter
Parsley
1/2c heavy whipping cream
 Sharp Chef's knife
Cleaver
Cutting Board


Directions:
Cut rabbit up into 8 portions, 4 from the saddle, 2 rear legs, 2 front legs. 

Season rabbit, let sit at room temp for 30 minutes, then brown in butter, working in batches to not overcrowd the meat. 

Set browned rabbit aside into a bowl. 

Add chopped shallots to pan on medium heat and brown. 

Add half of the chicken stock sherry mix to the pan and deglaze over high heat. 

Once deglazed, add the rest of the stock mix, mustard and parsley to the pan and bring to a simmer. 

Add rabbit and turn to coat. Turn heat to low and simmer, covered, for about an hour or until the meat is nearly falling off the bone.

Remove the rabbit from the pan and reduce the liquid by about half over medium-high heat. 

Remove pan from heat, stir in heavy cream and parsley.

Add rabbit, turn to coat.

Serve immediately. 


Hope you enjoy this. If you're not a fan of rabbit, or don't think you're ready to give it a try yet, you can easily use chicken in its place and get a very similar flavor that will be almost, if not exactly as delicious. 

Happy Eating!